Microsoft has finally baked in a few dedicated options to conserve battery in Windows 10. Even though previous versions of the operating system already did a fairly good job with this.
But Windows 10 basically comes with a new mode called Battery saver that automatically limits background activity and push notifications when a device is low on battery — very handy if you use Windows 10 on laptops or tablets.
To fix various Windows 10/11 problems, we recommend Outbyte PC Repair:
This software will repair common computer errors, protect you from file loss, malware damage, hardware failure, and optimise your computer for peak performance. In three simple steps, you can resolve PC issues and remove virus damage:
- Download Outbyte PC Repair Software
- Click Start Scan to detect Windows 10/11 issues that may be causing PC issues.
- Click Repair All to fix issues with your computer's security and performance.
This month, Outbyte has been downloaded by 23,167 readers.
To check out Battery save and enable it, simply fire up the Settings app from the Start menu or by pressing the Win + I key combination.
Go to the first option, System.
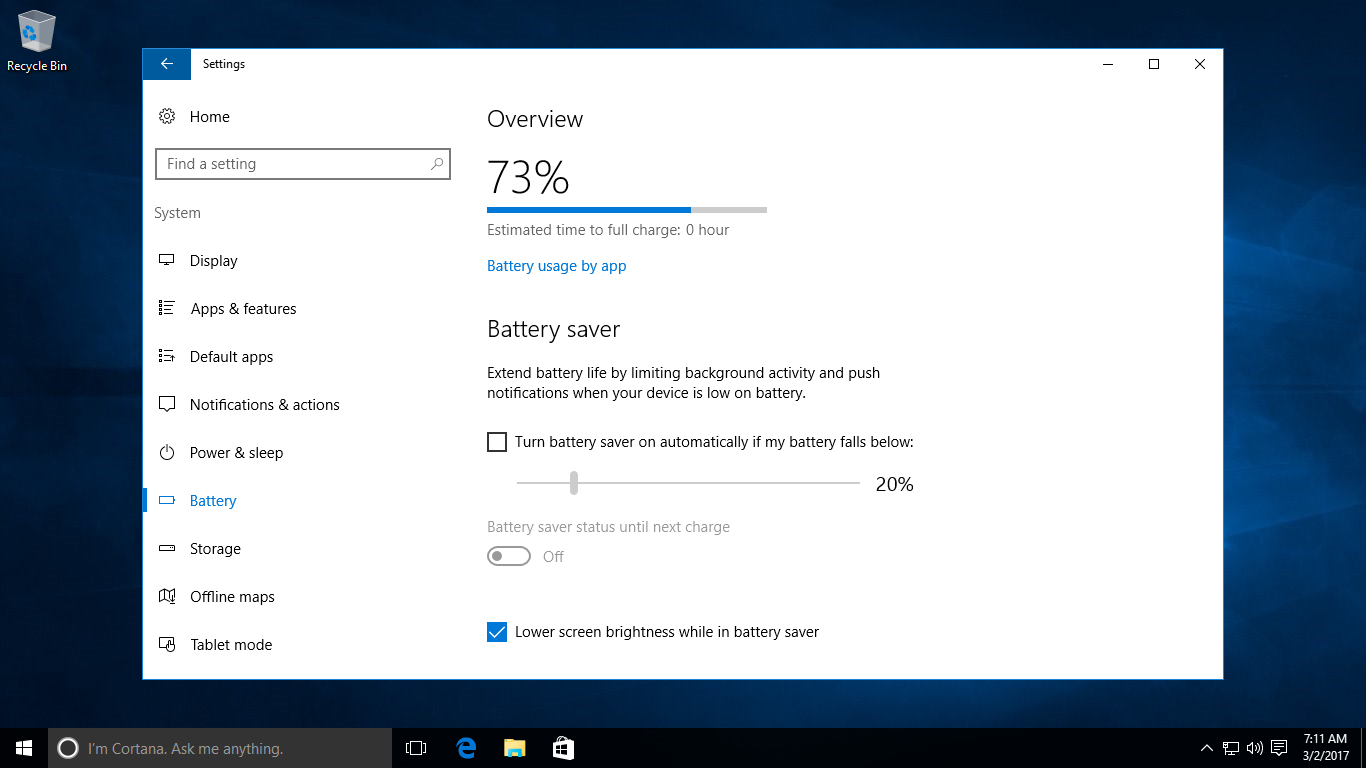
On the left-hand side, choose Battery.
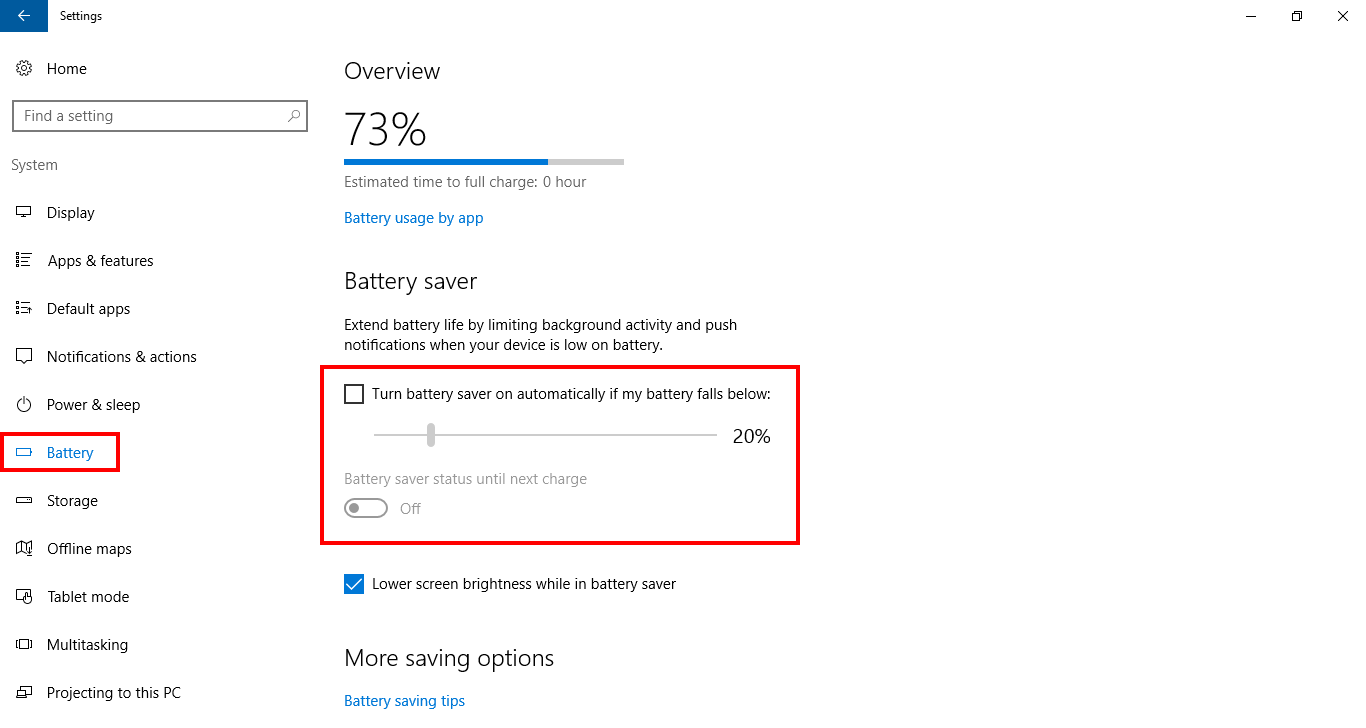
Here, you can find an overview of the juice remaining in your device, as well as a dedicate section that lists Battery saver and its associated settings. Enable it by checking the box next to the Turn battery save on automatically if my battery falls below line.
20% is a nice number to start with here.
Now, whenever your device falls below this threshold, Battery saver will automatically kick on and get you some extra juice while at it.
A couple other options are also available here, like the status of Battery saver until next charge. This is for when you want to keep the option on continuously or not. Windows can also lower your screen brightness while in battery saver mode, if you want.