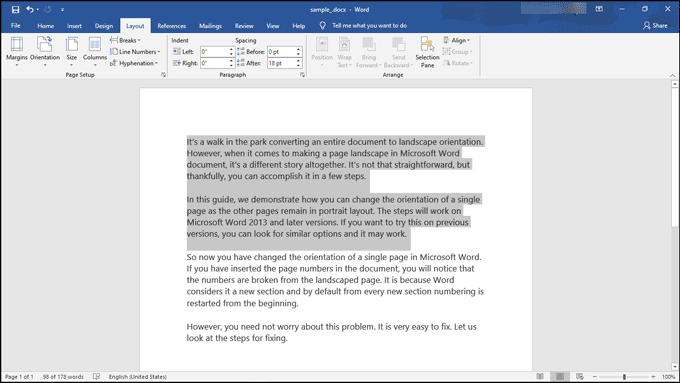
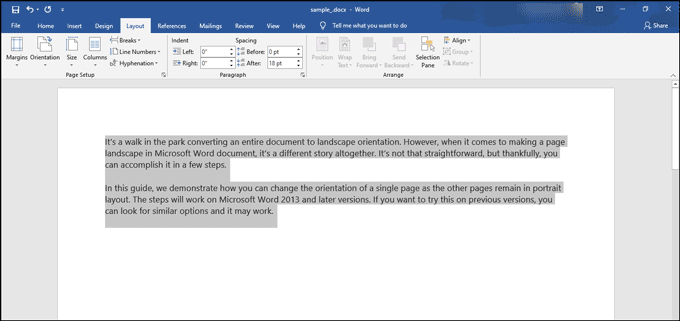
It’s a walk in the park converting an entire document to landscape orientation. However, when it comes to making a page landscape in Microsoft Word document, it’s a different story altogether. It’s not that straightforward, but thankfully, you can accomplish it in a few steps.
In this guide, we demonstrate how you can change the orientation of a single page as the other pages remain in portrait layout. The steps will work on Microsoft Word 2013 and later versions. If you want to try this on previous versions, you can look for similar options and it may work.
To fix various Windows 10/11 problems, we recommend Outbyte PC Repair:
This software will repair common computer errors, protect you from file loss, malware damage, hardware failure, and optimise your computer for peak performance. In three simple steps, you can resolve PC issues and remove virus damage:
- Download Outbyte PC Repair Software
- Click Start Scan to detect Windows 10/11 issues that may be causing PC issues.
- Click Repair All to fix issues with your computer's security and performance.
This month, Outbyte has been downloaded by 23,167 readers.
Make One Page into Landscape Orientation in MS Word
Without much further ado, let’s dive in:
Open a Word document and navigate to the end of a page, right before the page you transform into a landscape orientation. For instance, if you want page 11 to appear in Landscape orientation, place your mouse cursor at the end of page 10.
Next, click on ‘Layout‘ then click on ‘Breaks‘
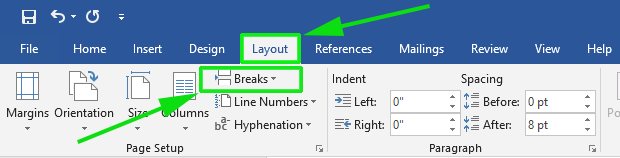
On the pull-down menu that appears, select ‘Next Page‘ right under ‘Section Breaks’

At this point, you should see Paragraph marks being displayed on the document. If they are missing, click on the ‘Home‘ tab on the MS Word ribbon and select the Show/Hide Paragraph marks button.

You should see the section break marks as shown:

For you to make a one page into landscape on the next page, place the mouse pointer at the beginning on the Section break on the next page as shown:

At this point, all you need to do is click the ‘Layout‘ tab and select the ‘Landscape’ option.

This will transform the upcoming page into the landscape orientation as shown:

The only thing remaining at this point is to copy and paste your content on the landscape page. Remember to place your cursor at the beginning of the section break on the upcoming page or between the 2 section breaks before pasting on the upcoming page.

How to make Selected Text Landscape in Word?
If you don’t want the whole page to be landscape, you can also convert just the selected text. Here are the steps for that.
- Open the Word document and select the text required to be landscape.
- Click on the Layout tab and select Margins. Under Margins click on Custom Margins.
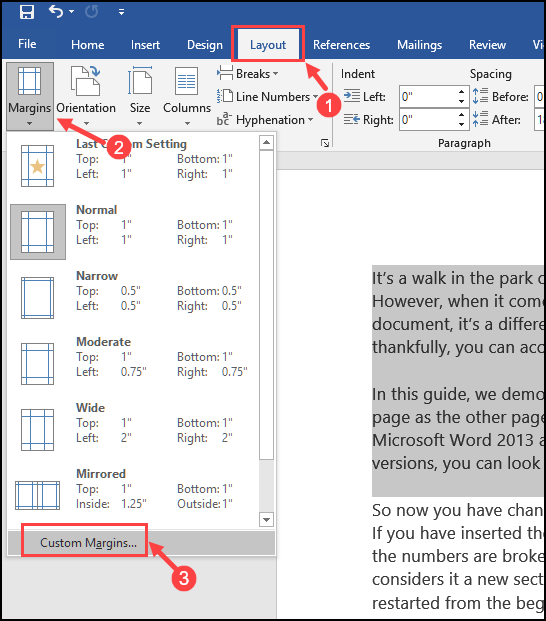
- Now, on the Page Setup window, select Landscape under Orientation. Also from the drop-down menu next to Apply to, choose Selected text.
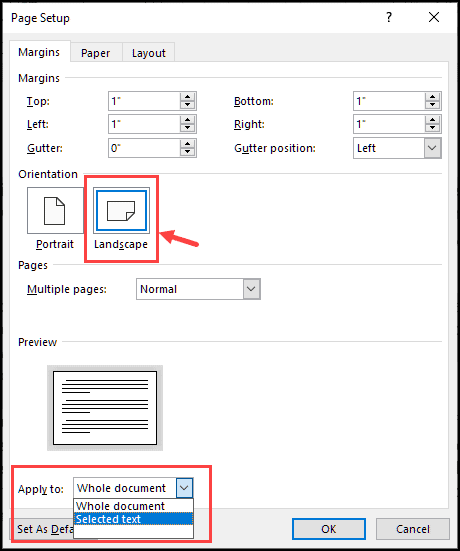
- That’s it. Your selected text would be converted into Landscape mode.
Fix Broken Page Numbers
So now you have changed the orientation of a single page in Microsoft Word. If you have inserted the page numbers in the document, you will notice that the numbers are broken from the landscaped page. It is because Word considers it a new section and by default from every new section numbering is restarted from the beginning.
However, you need not worry about this problem. It is very easy to fix. Let us look at the steps for fixing.
1. Double-click on the header or footer, wherever you put the page-number, to activate it for editing.

2. Right-click the incorrect page number and from the context menu choose the “Format Page Numbers” option.

3. A new Window will be opened named Page Number Format. Select the “Continue From Previous Section” bullet option.

This should fix your incorrect page numbering.
And this concludes the topic of how you can transform a single page on Word in landscape orientation and fix the page number of the document after the conversion. Your feedback is welcome.
- 8 Ways to Reduce Word File Size
- 6 Best Alternatives to Microsoft Office
- How to Edit PDFs in Microsoft Word
Hey, this is Margaret, a Windows Systems Administrator who’s in love with everything about tech.

Splendid and simple. Thanks!