If you are using razer devices such as a razer mouse, razer keyboard, the presence of Razer Synapse cannot be overlooked. The Synapse not only allows you to configure the Razer devices but also to manage them.
Some Windows 10 users have complained of a Razer Synapse not working issue. If you are experiencing the same problem, then our guide will assist you to resolve the issue.
To fix various Windows 10/11 problems, we recommend Outbyte PC Repair:
This software will repair common computer errors, protect you from file loss, malware damage, hardware failure, and optimise your computer for peak performance. In three simple steps, you can resolve PC issues and remove virus damage:
- Download Outbyte PC Repair Software
- Click Start Scan to detect Windows 10/11 issues that may be causing PC issues.
- Click Repair All to fix issues with your computer's security and performance.
This month, Outbyte has been downloaded by 23,167 readers.
Razer synapse is a hardware configuration software from Razer which allows users to configure their Razer peripherals. Below are some of the ways of fixing a Razer synapse.
1) Reinstall Razer Synapse
Sometimes, the issue with Razer synapse can be its drivers. The drivers could be corrupted which causes the program not to work correctly. To resolve the problems, you will have to reinstall these drivers. To reinstall the razer synapse program, follow the steps below:
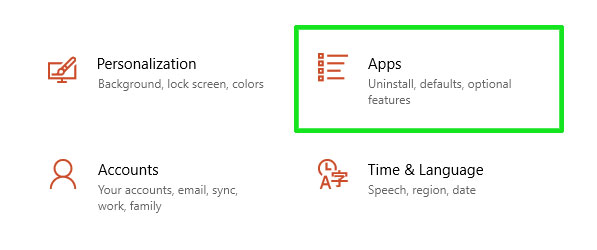
Step 1: Press Windows Key + I to open Windows Settings
Step 2: Click on ‘Apps‘ option
Step 3: Locate the ‘Razer synapse‘ app from the applications list.
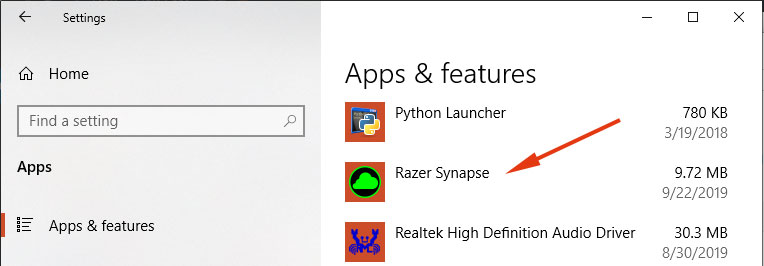
Step 4: Click on ‘Razer Synapse‘ and click on the ‘Uninstall‘ option to remove the Razer Synapse software

Step 5: Once installed, proceed to the Official Razer website and download the synapse application and later install it.
2) Install the latest Microsoft.NET Framework
The Microsoft.NET framework is a requirement for the Razer Synapse to work normally. If the .NET is not installed in your computer, then the Razer Synapse will not work. Also, ensure you update your .NET framework to the latest version.
Microsoft regularly updates the .NET framework in Windows 10, but sometimes the updates could lag which necessitates the need to update them manually. The 3.0 Razer synapse requires a 4.7.2 and higher .NET framework. Razor regularly adds features and utilities to its Synapse in its updates. It’ therefore essential to ensure your .NET framework is updated to the latest version.
To download.NET framework 4.7.2 navigate to this page and follow the steps in the setup wizard to complete the installation.
3) End all Razer Processes & relaunch Razer Synapse
Some Razer Synapse’ users have confirmed that ending Razer processes before launching the Synapse is helpful in resolving the Synapse issue. To close the Razer processes, follow the steps below:
Step 1: Press Windows Key + x and click on ‘Task Manager‘ in the power menu that appears.

Step 2: Navigate through the running processes and locate any Razor process
Step 3: Right-click the process and click ‘End Task’ from the options. In addition, ensure that you end all the Razer processes and close the Task Manager.

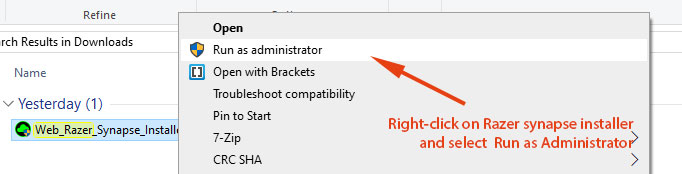
Step 4: Finally, lauch the Razor Synapse application as the administrator
4) Update Windows 10
Some windows users confirmed that their Razer Synapse not working issue was caused by outdated windows. To update Windows 10 follow our guide below:
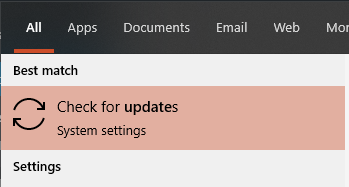
Step 1: Press Windows Key + S and press enter to open the Windows search bar. Type ‘Update‘ and hit ENTER .
![]()
Step 2: Click on ‘Check for updates’ option. While at it, ensure that you have a good internet connection.
Step 3: On the ‘Windows Update’ window, click on ‘Check for updates‘ option as shown below

Windows will thereafter start searching for updates. If new updates are found, Windows will download them and apply them to fix the Razer Synapse issue.

From the list of solutions provided, you’ll find one or more solutions that will work for your Windows 10 PC. If you are experiencing an issue with Razer Synapse, try out one of the recommendations and feel free to get back to us with your findings.
Hey, this is Margaret, a Windows Systems Administrator who’s in love with everything about tech.
