If you’re like most Windows users, you don’t think about the registry all that often. But did you know that the registry editor is a powerful tool that you can use to improve your computer’s performance?
In this blog post, we will discuss some of the best registry hacks for Windows 11. We will also show you how to use them to improve your computer’s performance.
To fix various Windows 10/11 problems, we recommend Outbyte PC Repair:
This software will repair common computer errors, protect you from file loss, malware damage, hardware failure, and optimise your computer for peak performance. In three simple steps, you can resolve PC issues and remove virus damage:
- Download Outbyte PC Repair Software
- Click Start Scan to detect Windows 10/11 issues that may be causing PC issues.
- Click Repair All to fix issues with your computer's security and performance.
This month, Outbyte has been downloaded by 23,167 readers.
So if you’re ready to take your computing experience to the next level, keep reading!
How to Open Registry Editor on Windows 11?
Before we get started, let’s take a look at how to open Registry Editor on Windows 11. There are different ways to do it.
Use Windows Search
One way to open Registry Editor on Windows 11 is to use Windows Search. To do this, follow these instructions:
- Click on the Start button and type regedit in the search box.
- Choose the Registry Editor result that appears.

Use the Run Dialog Box
Another way to open Registry Editor on Windows 11 is to use the Run dialog box. Here is how to do that:
- Launch the Run Dialog Box by pressing the Windows logo key + R on your keyboard.
- Type regedit in the Run dialog box and press Enter.

Pre-Requisites for Editing Registry
Now that you know how to open Registry Editor on Windows 11, let’s take a look at some of the things you need to do before you start editing the registry.
Create a Registry Backup
First, you need to create a backup of your registry. This is important because if something goes wrong, you can always restore your registry from the backup. To create a backup, follow these instructions:
- Open the Registry Editor using any of the methods mentioned above.
- On the Registry Editor window, click on File and select Export.

- Choose a location to save the file. Make sure to select All for the Export range option.

- Click Save and then Exit Registry Editor.
Create a System Restore Point in Windows 11
Another thing you need to do before you start editing the registry is to create a system restore point. This will allow you to revert your changes if something goes wrong. To create a system restore point, follow these steps:
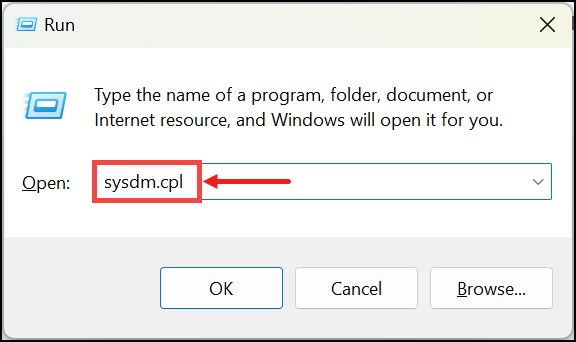
- Open Run Dialog Box, type sysdm.cpl, and hit the enter key.
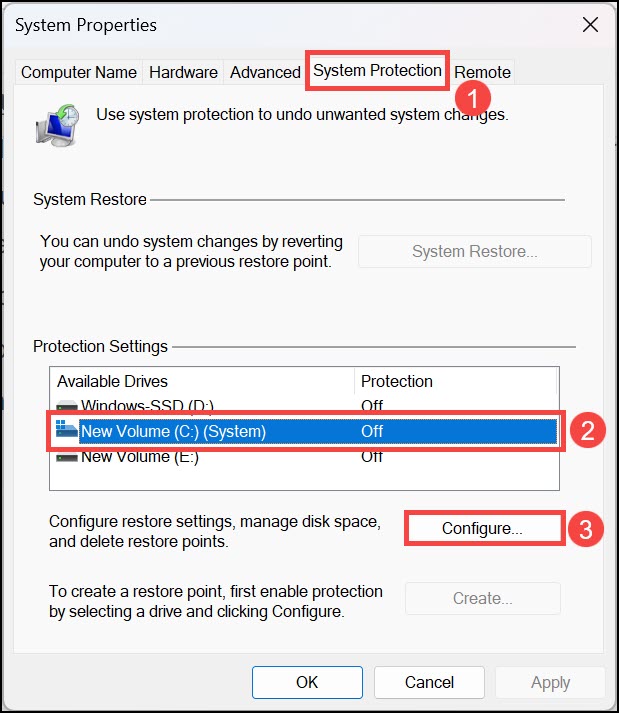
- Under System Properties, switch to the System Protection tab.
- Select your System Drive (usually it’s C:) and click on Configure.
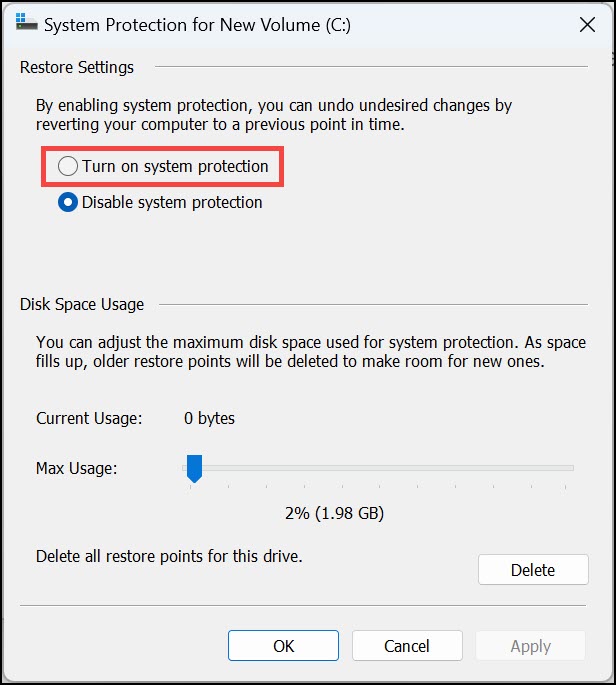
- Under Restore Settings, enable the Turn on system protection option. Click Apply and OK.
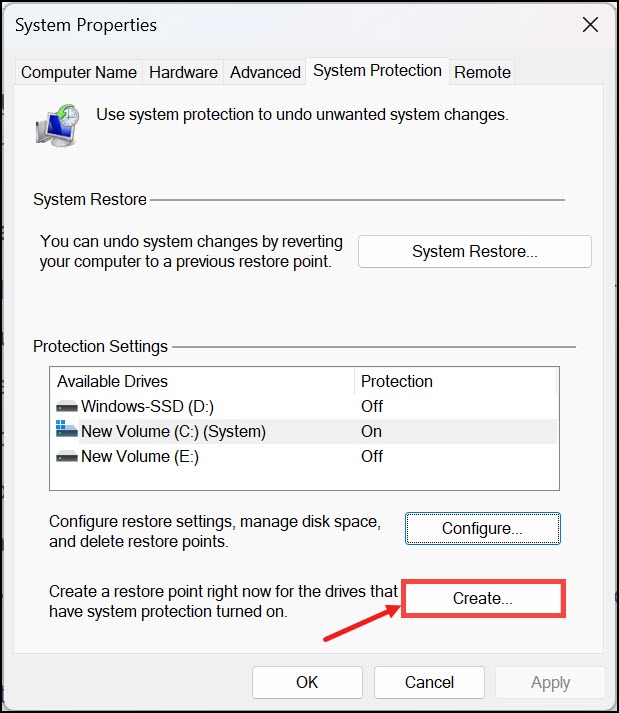
- Once you enabled the system protection option, you can now create a restore point.
- Under System Protection, click on the Create button.
- Type the description of the restore point so that you can remember why you created it.
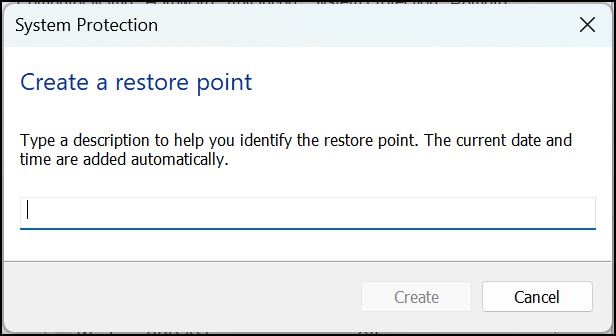
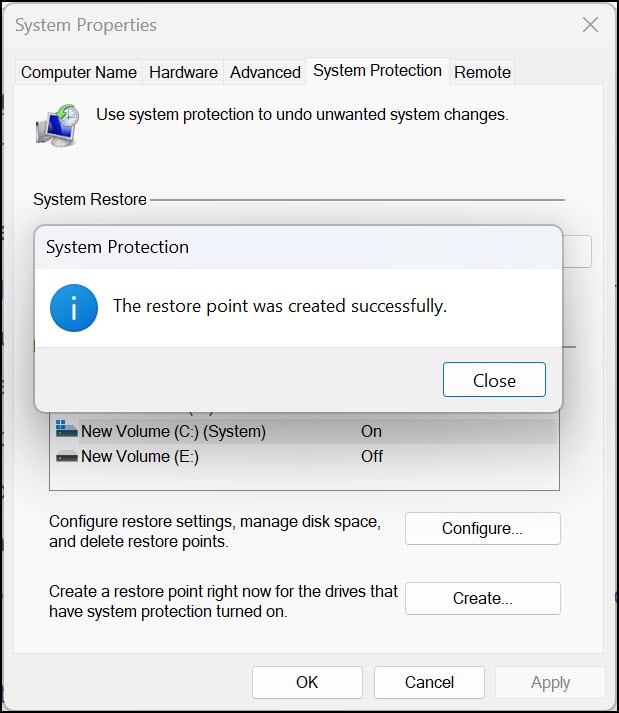
- A system restore point will be created.
Windows 11 Best Registry Hacks
Now that you know how to open Registry Editor on Windows 11 and some of the things you need to do before editing the registry, let’s take a look at some of the best registry hacks on Windows 11.
Add Apps to the Desktop Context Menu
One of the best registry hacks on Windows 11 is to add apps to the desktop context menu. Windows desktop context menu comes in handy to launch an application quickly. However, there is no direct method to add any app to it, except using third-party apps. So we would use Registry for that.
To add your frequently used application to the desktop context menu, follow these steps:
- Launch Registry Editor on your Windows 11 system.
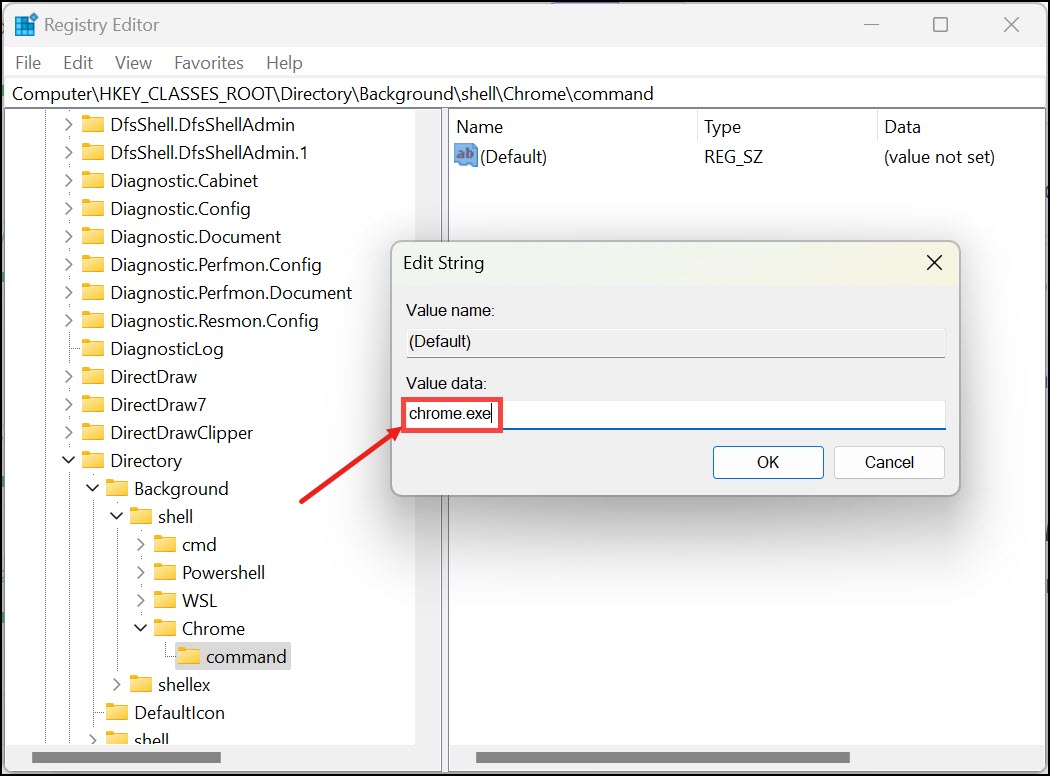
- Under Registry Editor, navigate to the following address: Computer\HKEY_CLASSES_ROOT\Directory\Background\shell
- For this post, we would add Chrome to the context menu. Under shell right-click on the panel and choose New->Key.
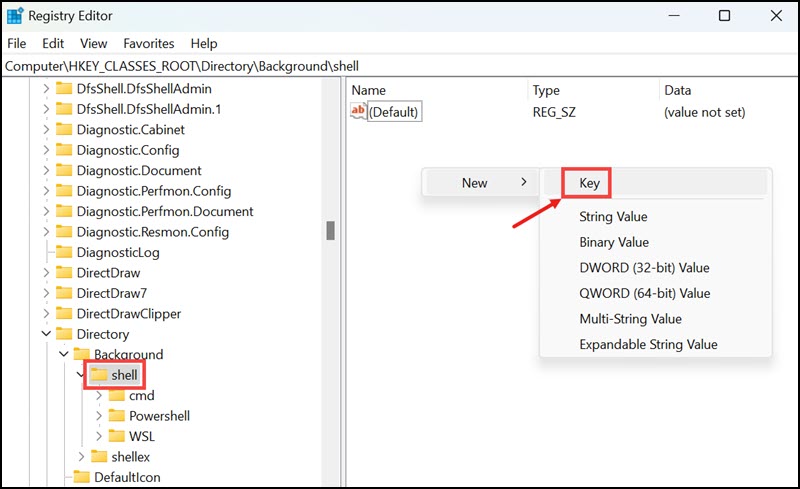
- Name it Chrome.
- Now within Chrome, create another Key and name it command.
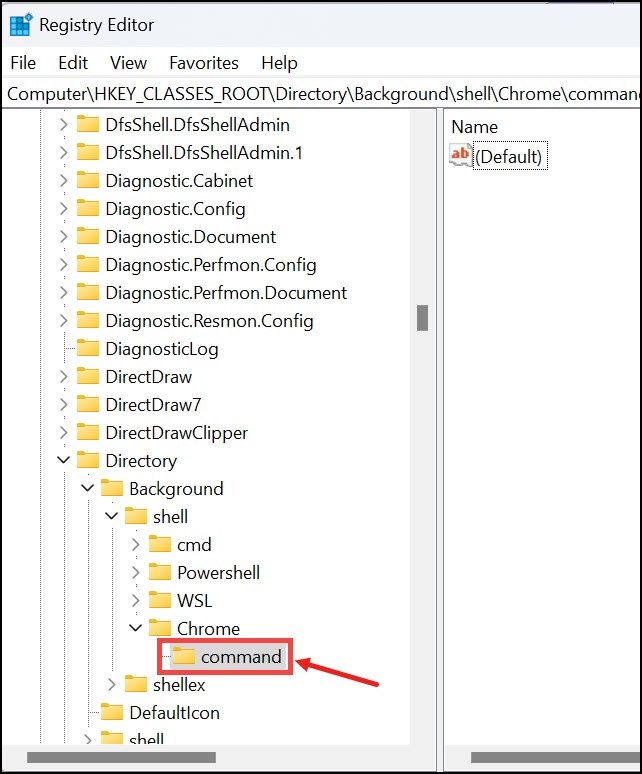
- Right-click on the default string of the command and modify it. Set Value data as chrome.exe.
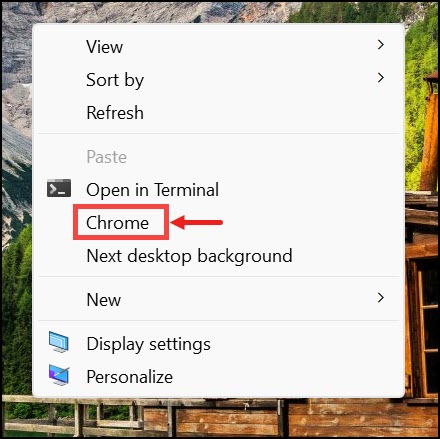
- Close the Registry and check your desktop context menu for Chrome.
Turn Off the Lock Screen
Another great registry hack on Windows 11 is to turn off the lock screen. Although the lock screen is not a big issue, it can be quite annoying, especially if you don’t use it for security purposes. So if you want to disable the lock screen, follow these steps:
- Open Registry Editor using any of the methods mentioned above.
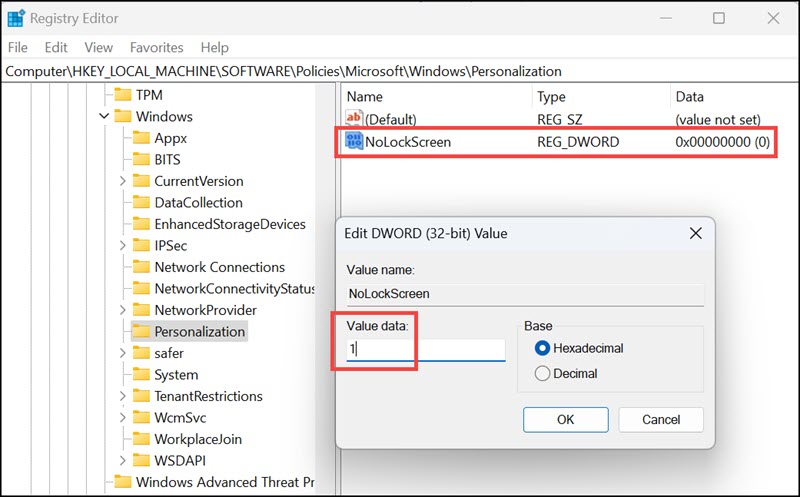
- Redirect to this path on Registry editor: HKEY_LOCAL_MACHINE\SOFTWARE\Policies\Microsoft\Windows\
- On the left panel, right-click on Windows and select New->Key, and name it Personalization, if such a key is not present.

- Under Personalization right-click on the right panel, and create a new DWORD (32-bit). Name the value NoLockScreen. Modify its Value data from 0 to 1.
- Restart the system, and you would notice that the lock screen is gone.
Disable Windows Startup Delay
If you want your Windows to start faster, you can turn off the startup delay. By default, there is a slight delay when starting Windows so that users can press the F12 or Shift key to enter boot options. Windows also put a short delay on startup so that your startup application gets loaded, and when you are finally on the desktop, you do not have to face any lag. However, if you do not have many startup apps or if you have disabled your startup apps, then that delay is useless for you.
Here is how you can disable it:
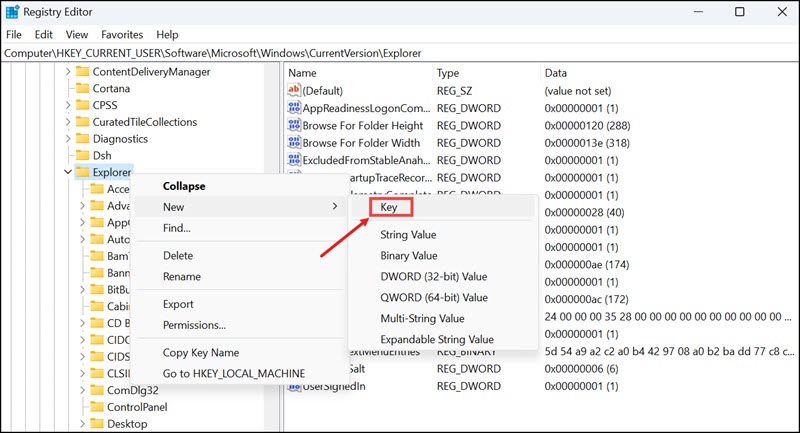
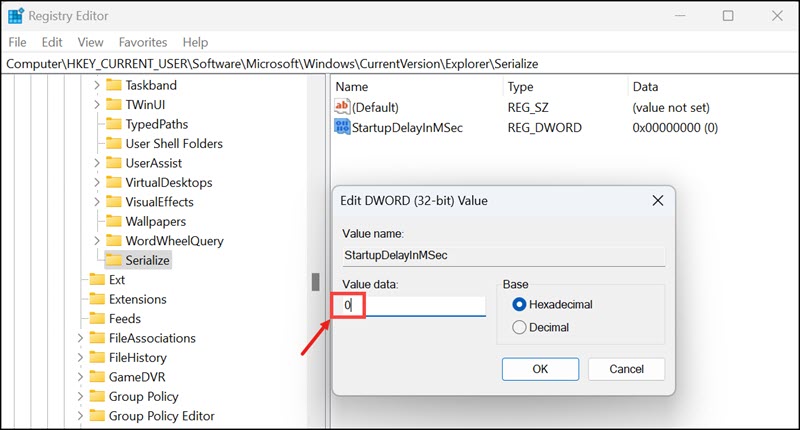
- Launch Registry Editor and navigate to the following path: Computer\HKEY_CURRENT_USER\Software\Microsoft\Windows\CurrentVersion\Explorer
- On the right-side pane, right-click on Explorer and select New->Key. Name this key Serialize.
- Now under the Serialize key, create a new DWORD-32 and name it StartupDelayInMSec.
- Make sure that the Value data of StartupDelayInMSec is 0.
Show Seconds in the Taskbar Clock
This is one of my favorite registry hacks on Windows 11. By default, the taskbar clock only shows you the time and date. However, if you want, you can also add seconds to it.
To do that:
- Open Registry Editor and go to this path: HKEY_CURRENT_USER\Software\Microsoft\Windows\CurrentVersion\Explorer\Advanced
- Create a new DWORD (32-bit) under the Advanced key and name it ShowSecondsInSystemClock. Give the Value data 1.
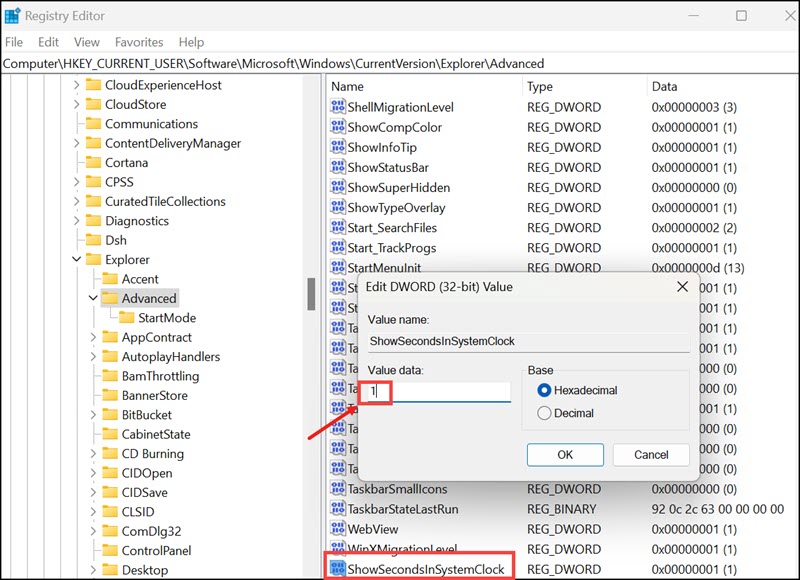
- You need to sign out and then sign in again to affect the changes.
Reposition Windows 11 Taskbar
Although Microsoft has provided a slick and modern look to the all-new taskbar, as of now, there are a few customizations that are not available by default. Two of those are the ability to reposition the taskbar and resize it.
- On the Windows 11 search box, type Regedit, and click on its icon to launch it.

- Navigate to this key location: HKEY_CURRENT_USER\SOFTWARE\Microsoft\Windows\CurrentVersion\Explorer\StuckRects3
- To nullify and mishap, it is advised to backup the StruckRects3 key. Right-click on it and select Export. Save it to a secure location.

- Under the StruckRects3 key, double click on Settings value.

- In the 2nd row, whose value data ends with 00008, move your cursor to the fifth column, whose value is 03.

- Replace the 03 with 01 and click OK. Use the delete button to delete the 03.
- Exit the Registry Editor.
Summing Up
The article provides five different registry hacks that can be used on Windows 11. These hacks include adding an application to the desktop context menu, disabling the lock screen, disabling the Windows startup delay, showing seconds in the taskbar clock, and repositioning the taskbar.
These are some of the best registry hacks on Windows 11 that you can use to customize your system. Do let us know if you know of any other hack and we would be happy to add it to the list.
Do note that Registry Editor is a powerful tool and making changes to it can break your system. So, before proceeding, we would suggest you back up the registry and create a System Restore point. This would help you restore your system in case something goes wrong. Also, make sure to follow the instructions carefully.
Peter is an Electrical Engineer whose primary interest is tinkering with his computer. He is passionate about Windows 10 Platform and enjoys writing tips and tutorials about it.

What version of Windows 11 are you running? The Taskbar can be repositioned to the left or center.
Windows 11, by default, provide an option to transfer Taskbar ‘items'(such as the Start button, Pinned apps) to left or center. There is no direct option to reposition the whole Taskbar as we can do in Windows 10.