One either really likes, or really dislikes the tablet mode in Windows 10. But luckily, Microsoft has made it very easy to enable or disable, and configuring it is just a matter of three basic steps.
Before we get to those, though, a quick rundown of what the tablet mode is.
To fix various Windows 10/11 problems, we recommend Outbyte PC Repair:
This software will repair common computer errors, protect you from file loss, malware damage, hardware failure, and optimise your computer for peak performance. In three simple steps, you can resolve PC issues and remove virus damage:
- Download Outbyte PC Repair Software
- Click Start Scan to detect Windows 10/11 issues that may be causing PC issues.
- Click Repair All to fix issues with your computer's security and performance.
This month, Outbyte has been downloaded by 23,167 readers.
This new mode has been designed to provide a more touch friendly experience for users, by making all applications run in full screen — as opposed to running them in windows, that is usually the case. It also provides users with a Start Screen instead of a Start Menu.
Ideal for those with 2-in-1 devices, as you can see, and Windows 10 actually asks you every time you convert your notebook into a slate.
But it is also possible to switch between tablet and desktop modes manually, or even avoid the prompt altogether and keep your device switch to a single mode at all times.
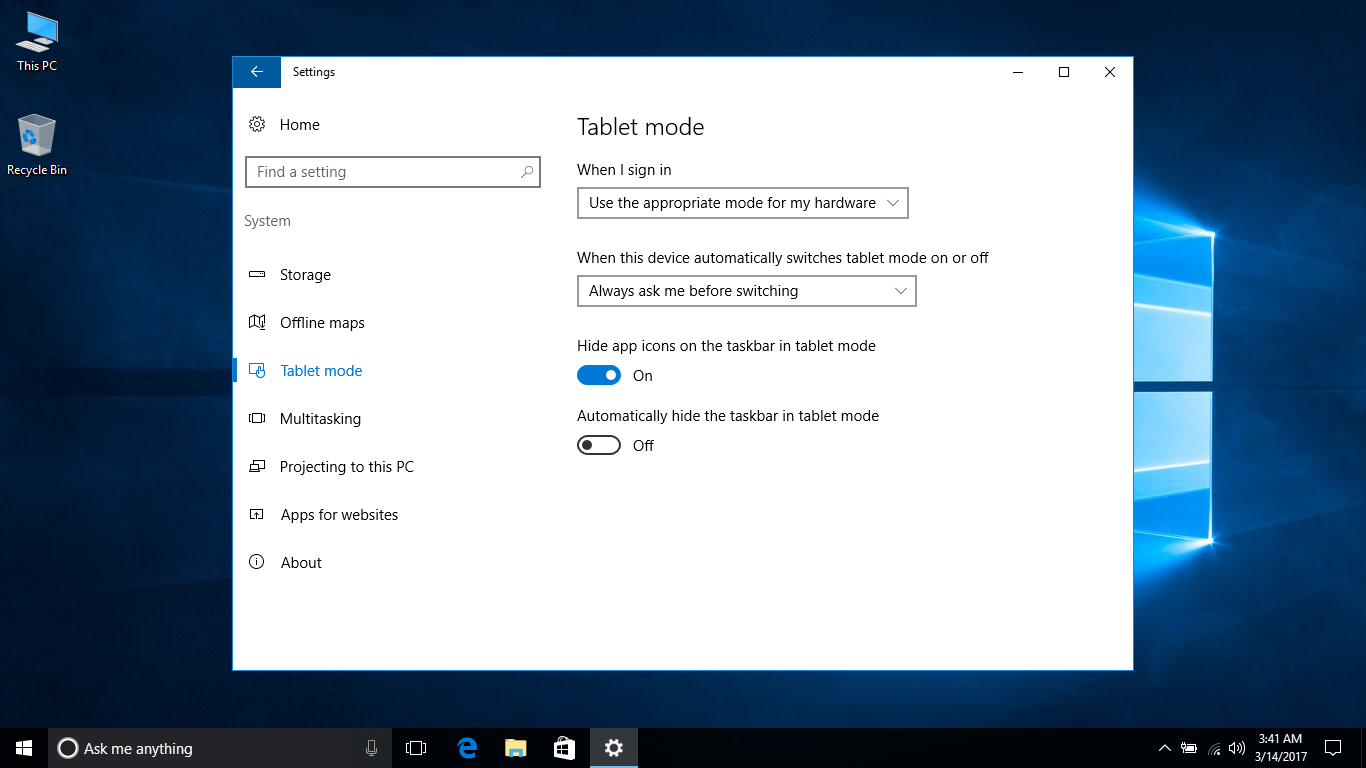
To get started, click on Settings in the Start Menu.

Select System, and then go to Tablet mode in the left pane to open up the submenu.
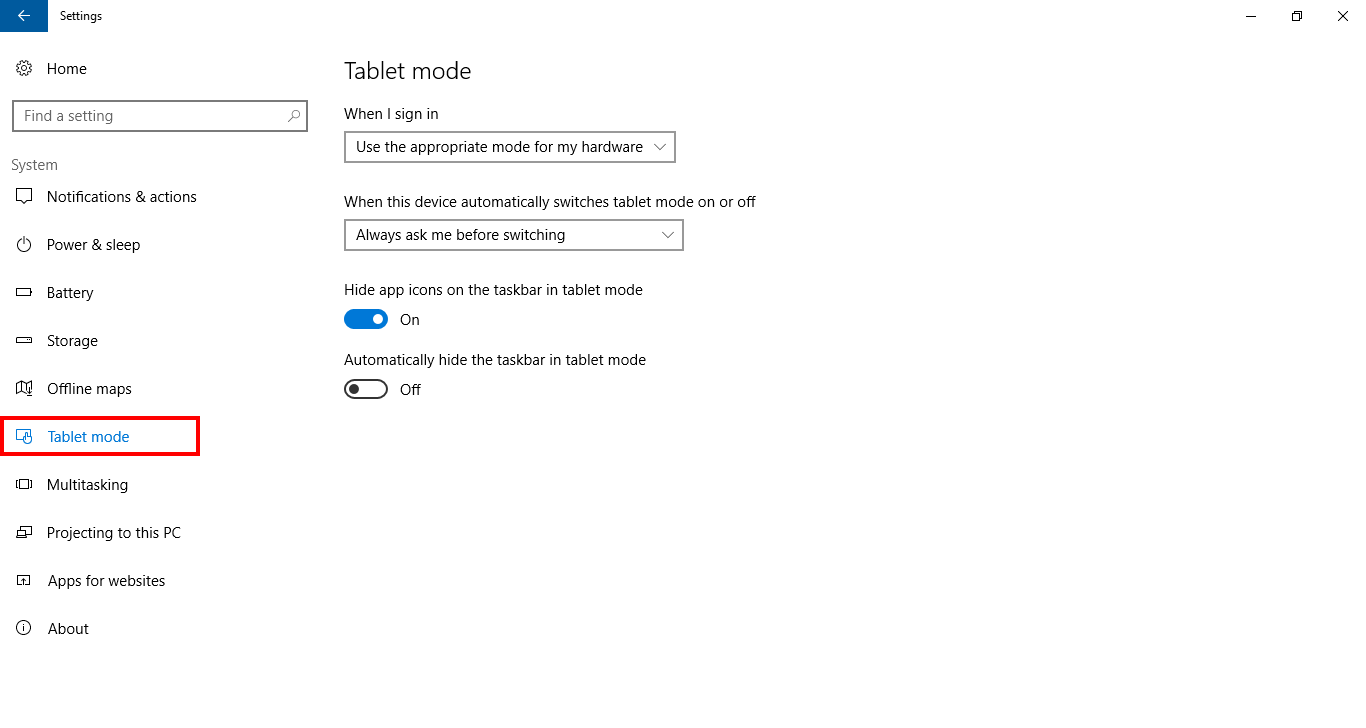
Here you can specify the various options for this mode, including which mode you want to cover to automatically when you sign in, and whether you want Windows to ask you before making the switch between the two modes.
And finally, a couple other options let you configure if you want to hide the icons or the taskbar when in table mode.